Aperture Priority + Auto ISO: Let Depth of Field Lead
Setting of the Day: Aperture Priority + Auto ISO
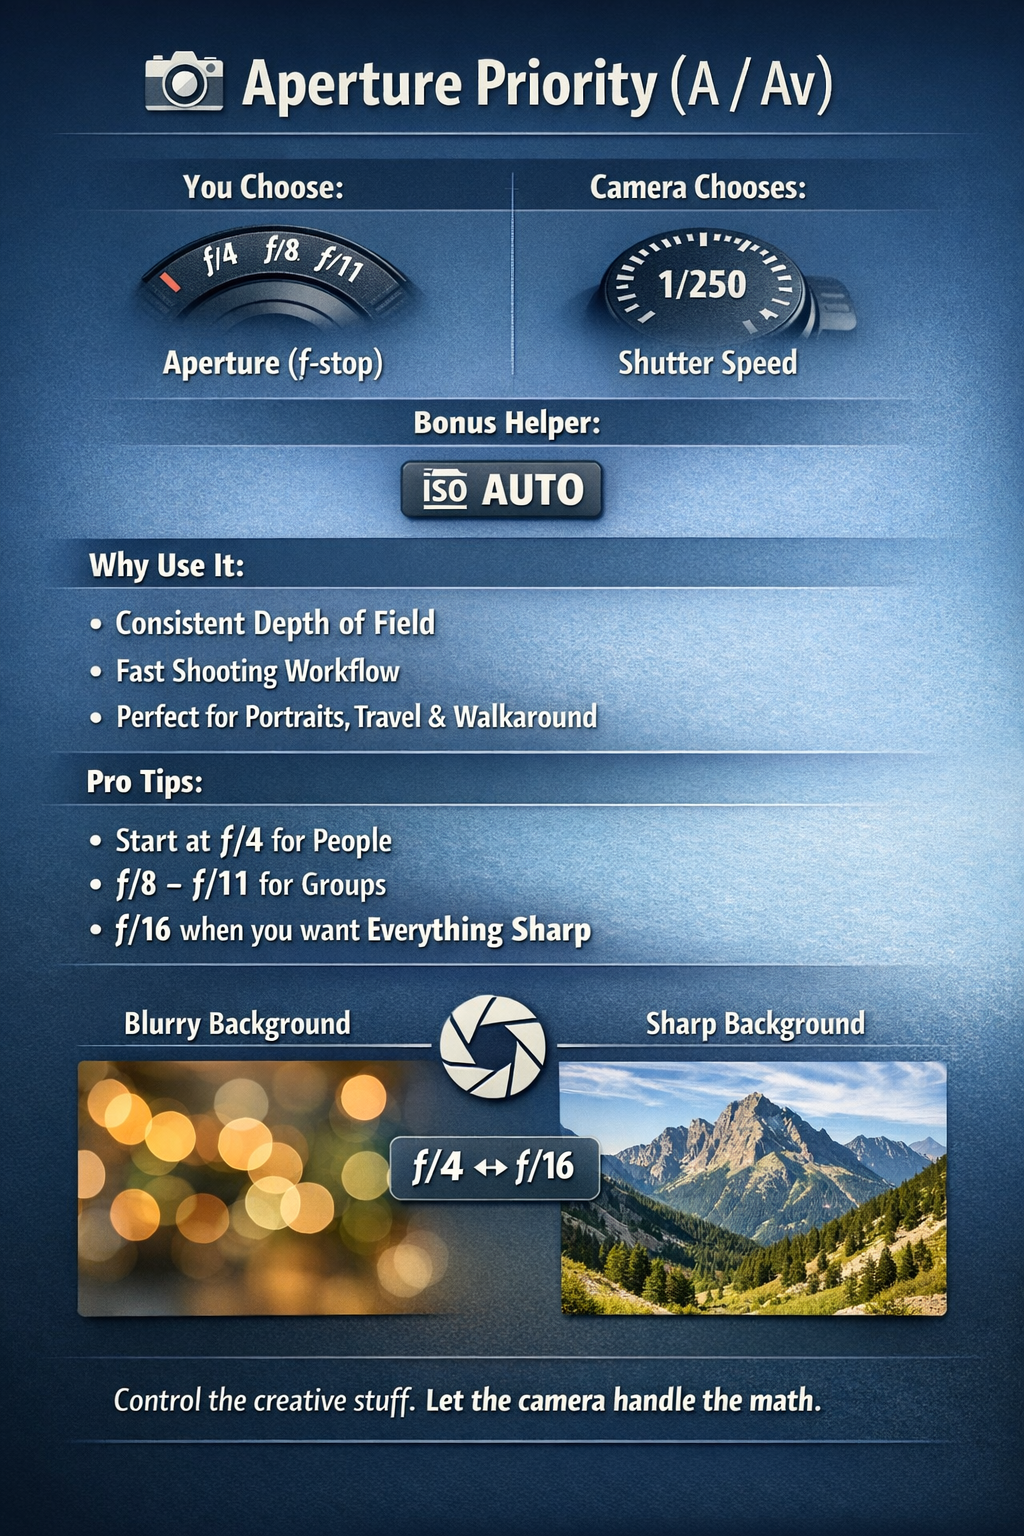
Aperture Priority is one of the most useful camera modes when depth of field is the creative decision you care about most. On Canon, it is usually marked Av, while many other brands use A. In this mode, you choose the aperture, and the camera chooses a shutter speed that produces a usable exposure. If you also turn on Auto ISO, the camera has another variable it can adjust as the light changes. That gives you a lot of flexibility without forcing you to constantly chase settings. It lets you protect depth of field while the camera handles some of the exposure work. If the light changes as you move from shade to sun, or if clouds pass overhead, the camera can adjust shutter speed and ISO while you continue concentrating on the photograph itself.
Try this: switch to Aperture Priority and start around f/4 if your lens allows it. Turn on Auto ISO and set a maximum you are comfortable using. ISO 3200 is a reasonable starting point on many modern cameras, but this is not a rule. Some cameras look excellent well above that, while others may show noise earlier. The better question is how much noise you are willing to accept to keep the shutter speed fast enough and the depth of field where you want it.
Choose one person or stationary subject with a background several feet behind them. A person works especially well because facial sharpness and background separation are easy to judge, but you could just as easily use a flower, coffee mug, tool, dog, fence post, or anything else that gives you a clear subject against a visible background.
Start from one position and make three photographs without moving, keeping your focal length and framing as consistent as you reasonably can. Make the first at f/4, the second at f/8, and the third at f/16. The goal is not simply to prove that one background looks blurrier than another. Look at how the entire photograph changes.
At f/4, the subject may separate strongly from the background and the frame may feel cleaner and more intimate. At f/8, more of the environment may become recognizable, giving the photograph additional context. At f/16, much more of the scene may appear sharp, depending on your focal length, subject distance, and background distance. None of those looks is automatically correct. The question is how much visual information the photograph needs.
While you do this, keep an eye on shutter speed too. Aperture Priority is still an exposure mode, and the camera may choose a shutter speed that becomes too slow as you stop the lens down. If you are photographing a person and f/16 forces the shutter speed down to 1/30 second, you may introduce motion blur even though the exposure meter looks perfect. This is where Auto ISO can help by letting the camera raise ISO and keep a faster shutter speed, but you still need to pay attention to what the camera is doing.
After you compare the three apertures, choose one and stick with it. I would use f/4 for the next part because the effect is usually easy to see. Now change only your distance from the subject. Move fairly close and make a photograph, then step several feet farther away and make another while keeping the same aperture. If it fits the subject and lens, something like a close working distance of around two feet compared with six or seven feet can make the difference obvious. Do not worry about matching those distances exactly. The point is to compare close versus farther away.
As you move closer, depth of field generally becomes shallower. As you move farther away, more of the scene tends to fall within the depth of field even though the aperture has not changed. That is an important lesson because aperture is often taught as though the f-number alone determines background blur. It does not. Subject distance, focal length, and the distance between the subject and background also matter.
This is also why simply saying "use f/2.8 for portraits" is not very helpful. A portrait made at f/2.8 from several feet away can look very different from one made at the same aperture from much closer. If the background is right behind the subject, it may remain relatively recognizable. If the subject is several feet away from the background, separation can become much stronger.
Aperture Priority becomes especially useful once you start thinking this way. You are no longer just telling the camera, "Give me f/4." You are saying, "Depth of field is the thing I want to control right now. You handle the exposure around that decision while I pay attention to distance, framing, background, and the subject." That is a much more useful way to think about the mode.
Auto ISO works the same way. It is not there because you are too lazy to choose ISO. It is there because sometimes ISO is the setting you are most willing to let the camera adjust. If shutter speed and aperture are doing important creative work, allowing ISO to float can be a smart tradeoff. A slightly noisier file is often preferable to a blurred subject or the wrong depth of field.
The real goal of this exercise is to stop treating aperture as a number and start seeing it as part of a larger system. Aperture changes depth of field. Distance changes depth of field. Focal length changes the way the scene is framed. Background distance changes how strongly the subject separates. Shutter speed determines whether motion remains sharp. ISO supports those choices when the available light isn't enough.
Aperture Priority simply gives you a practical way to put depth of field first. Use it when it helps you think more clearly about the photograph, then let the camera handle the boring part while you focus on what actually matters inside the frame.
Shoot what matters.
Jonathan Charles