The Little Graph Nobody Looks At That Could Save Your Photos.
There is a small graph hiding somewhere in your camera that most photographers completely ignore. It is not flashy. It does not have a cool name. It looks like something your high school math teacher would put on a quiz and then feel bad about.
It is called the histogram. And once you understand it you will never trust your camera screen alone again.
Why Your Camera Screen Is Lying to You
Here is a situation you have probably been in. You take a shot, you check the screen on the back of your camera, it looks great, nice and bright, good exposure, you move on. You get home, open it up on your computer, and the sky is completely blown out, just a flat white nothing where all that beautiful cloud detail used to live. Or the shadows are so crushed that everything in the dark parts of the image has turned into a muddy grey soup.
The camera screen looked fine. The image was not fine.
This happens because your camera screen is affected by the brightness of the environment around you. Reviewing a shot in bright sunlight makes it look darker than it is. Reviewing it indoors makes it look brighter. Your eyes adjust constantly and your brain fills in the rest. The screen is doing its best but it is not a reliable judge of exposure.
The histogram does not lie. Ever.
What You Are Actually Looking At
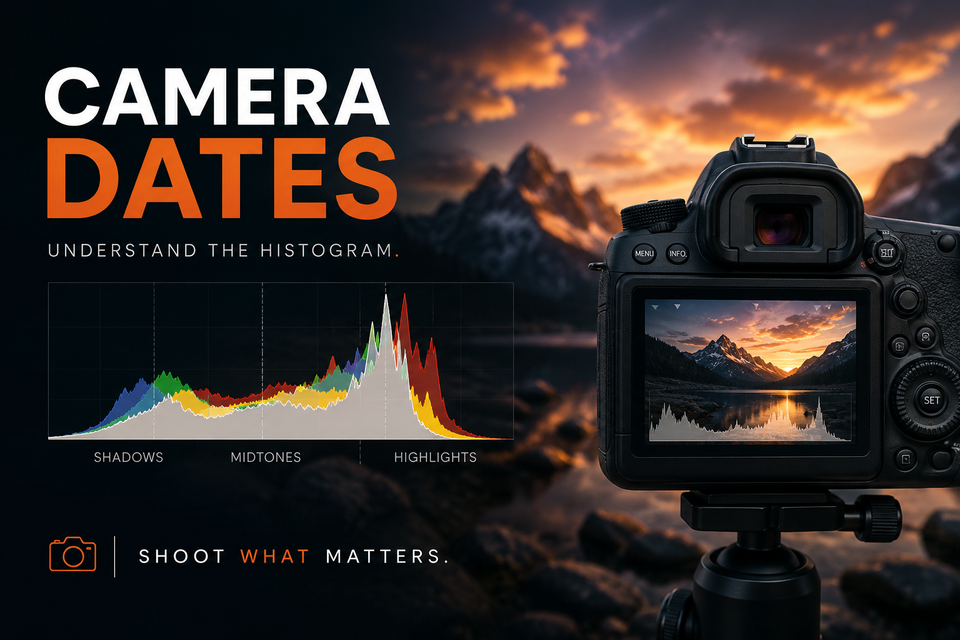
The histogram is a simple graph. The left side represents the darkest parts of your image, pure black at the far left edge. The right side represents the brightest parts, pure white at the far right edge. Everything in between is the range of tones from shadow to midtone to highlight.
The shape of the graph tells you where most of the tonal information in your image lives. A big hump in the middle means a well balanced exposure with lots of midtones. A hump pushed to the left means a dark, underexposed image. A hump pushed to the right means a bright, overexposed one.
But here is the part that really matters. When the graph hits the wall on either side, when it runs right up against the left or right edge, that means you have lost detail. On the left that is crushed blacks, shadow detail gone forever. On the right that is blown highlights, bright areas with no recoverable information, just pure white with nothing underneath.
That lost detail cannot be recovered in editing. It is gone. The histogram was trying to warn you and you were not looking at it.
Expose to the Right
Here is a technique that professional photographers use that sounds counterintuitive until it does not. It is called expose to the right, and it simply means pushing your exposure as bright as you can without letting the highlights clip against that right wall.
The reason this works is that digital sensors capture significantly more information in the bright areas of an image than in the dark ones. A slightly overexposed image that you pull back in editing will have cleaner shadows and less noise than an underexposed image that you push up. You are essentially giving the sensor as much light as it can handle without losing the highlights, and then bringing the exposure back down in post where you have much more control.
Check your histogram. Push the exposure right. Watch the wall. Pull back the moment it touches.
It sounds like a lot but after a few dozen shots it becomes second nature.
Okay But How Do I Actually Control It
This is where it gets practical. The histogram is the feedback. Your exposure settings are the controls. Here is how to use them together.
If your histogram is piling up against the left wall, your image is too dark. You need more light. You have three ways to get it. You can slow your shutter speed down, which lets light in longer. You can open your aperture wider, which lets more light in at once. Or you can raise your ISO, which makes the sensor more sensitive to the light that is already there. Any one of those moves will push the histogram to the right.
If your histogram is piling up against the right wall, your image is too bright. You need less light. Do the opposite. Speed the shutter up, close the aperture down, or lower the ISO.
If you are shooting in one of the priority modes, Av on Canon or A on Nikon for aperture priority, Tv on Canon or S on Nikon for shutter priority, there is an even simpler tool available to you. It is called exposure compensation and it is one of the most useful buttons on your camera that most people forget exists.
Look for a button marked with a plus and minus symbol, usually near the shutter or on the top dial. On most cameras you hold that button and spin the main dial to add or subtract exposure in small increments. Plus moves the histogram right, brighter. Minus moves it left, darker. You are not changing your aperture or shutter speed manually. You are just telling the camera to expose a little brighter or darker than it thinks it should.
It is fast, intuitive, and works beautifully in the middle of a shoot when you do not have time to dig into full manual settings.
In manual mode you have direct control over all three settings independently, so you just adjust whichever one makes the most sense for the shot you are making. Change one, check the histogram, adjust again until the graph sits where you want it without kissing either wall.
The workflow becomes this. Take a shot. Glance at the histogram. Too far left, add exposure. Too far right, pull back. Touching the walls, fix it before you move on. After a while you will start predicting where the histogram will land before you even take the shot, and that is when you know the tool has become instinct.
How to Turn It On
On most Canon cameras you can enable the histogram display by pressing the Info or Display button while reviewing an image. Look for it in your playback settings if it does not appear automatically. On Nikon it works similarly, cycling through display options with the OK or Info button during playback. Some cameras also offer a live histogram in your viewfinder or on the screen while you are composing the shot, which is even more useful. Dig into your display settings and turn that on if your camera supports it.
Once you find it you will wonder how you ever shot without it.
The Takeaway
You do not need to understand every nuance of the histogram to start benefiting from it. You just need to know two things. Spiking hard against the left wall means lost shadows. Spiking hard against the right wall means lost highlights. Keep the graph off the walls and you are in good shape.
It is the most honest tool your camera has. Small, unglamorous, and completely indispensable once you know what it is telling you.
Start looking at it. It has been trying to help you this whole time.
Shoot What Matters.